

Thinking about changing up your look without the hassle of salon visits? You’re in the right place.
Dyeing your hair at home can seem tricky, but with the right steps, you can get vibrant, salon-quality results all by yourself. Imagine the confidence boost when you see that perfect shade reflecting back at you in the mirror. In this guide, you’ll discover simple, clear instructions and insider tips that make the whole process smooth and fun.
Ready to transform your hair and own your new style? Keep reading—your stunning new look is just a few steps away.

Credit: www.wikihow.com
Choosing Hair Dye
Selecting the right hair dye is key for a good result. Understanding different types and shades helps you achieve your desired look. Your hair’s condition and color goals also guide your choice. This section explains important points to consider before buying hair dye.
Permanent Vs Semi-permanent
Permanent dye changes hair color deeply and lasts for months. It covers gray hair well and offers bold color changes. Semi-permanent dye coats the hair surface. It fades after a few washes and causes less damage. Choose permanent for long-lasting color and semi-permanent for gentle, short-term changes.
Bleach And Toners
Bleach removes natural color to lighten hair. It is needed for very light shades or vivid colors. Bleaching can damage hair, so use it carefully. Toners adjust the hair tone after bleaching. They remove unwanted yellow or orange shades. Toners give a more natural and even color result.
Color Selection Tips
Pick a color close to your natural shade for subtle change. Use a color wheel to find complementary shades. Consider your skin tone: warm tones suit warm colors; cool tones suit cool colors. Test the dye on a small hair strand before full application. This prevents surprises and ensures you like the shade.
Credit: www.johnfrieda.com
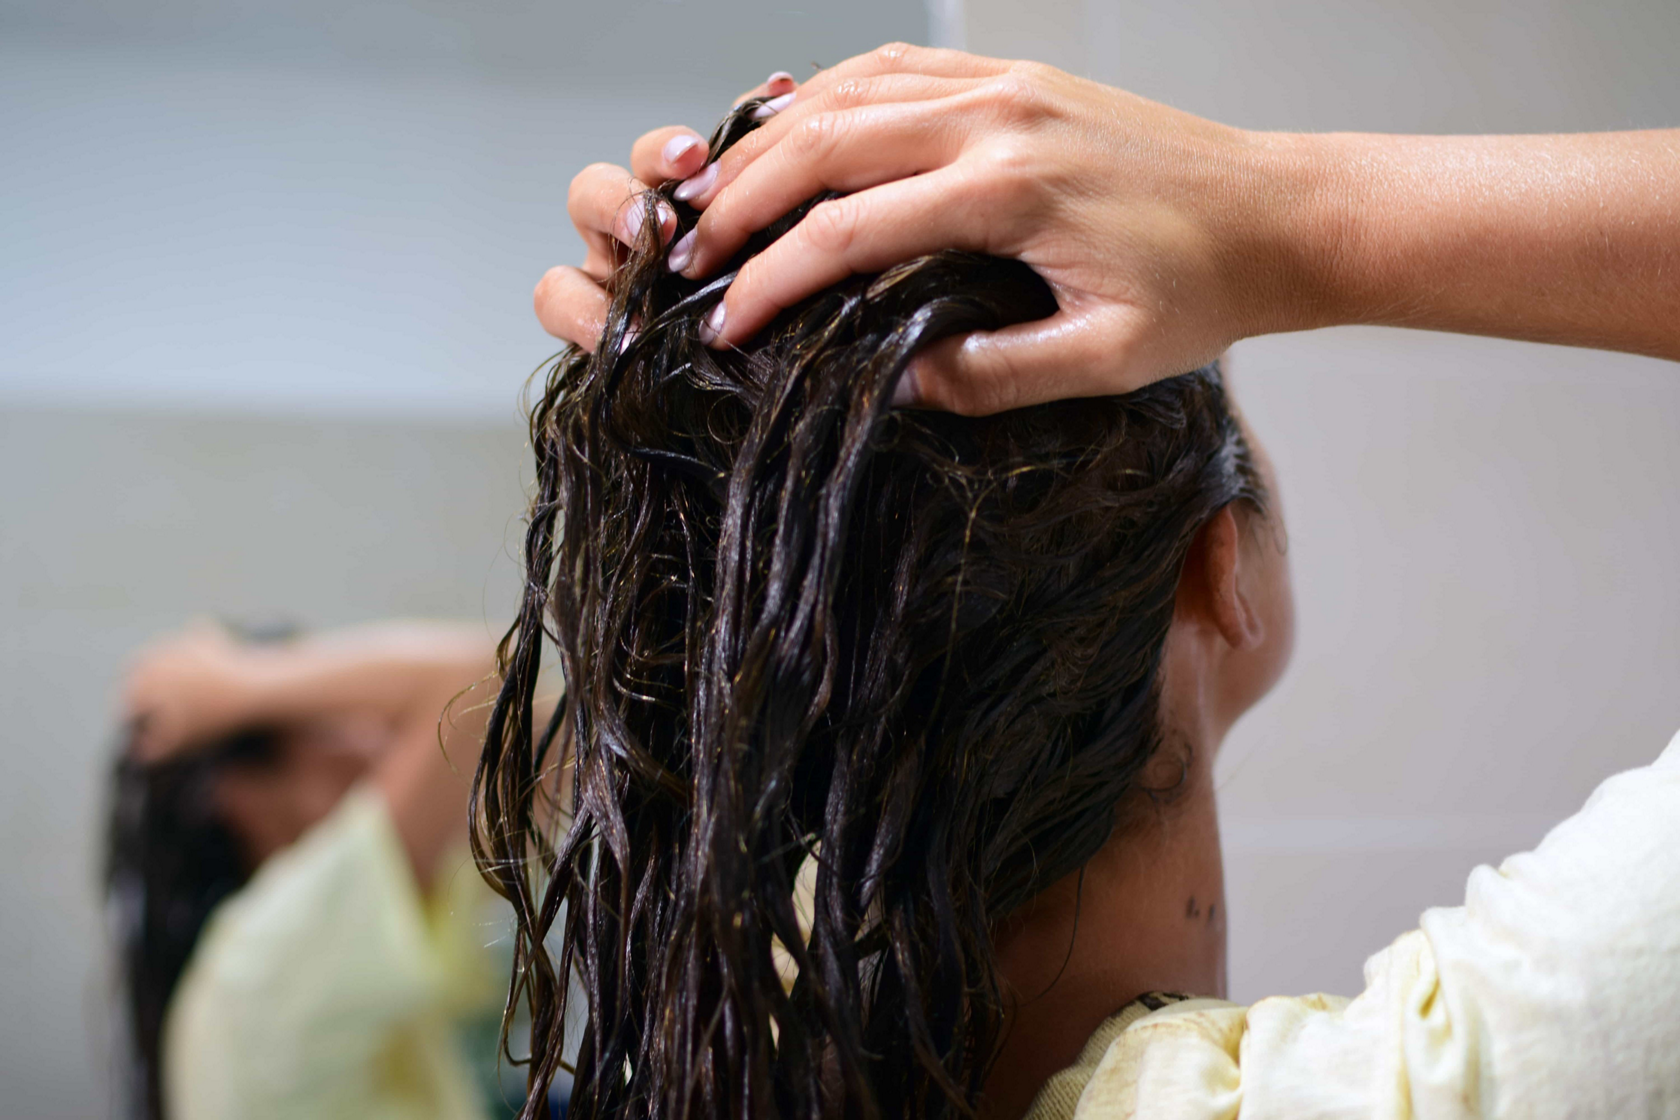
Preparing Your Hair
Preparing your hair before dyeing is essential for a smooth and even color result. This step ensures your hair absorbs the dye properly and prevents damage. Taking time to prep also protects your skin and clothes from stains. Follow these simple guidelines to get ready for your at-home hair dyeing session.
Dry Or Damp Hair?
Decide whether to dye your hair dry or damp based on the dye type. Dry hair works best for permanent dyes and bleaching. It helps the color apply evenly and stay in place. Damp hair suits semi-permanent or demi-permanent dyes. Dampness allows the color to spread smoothly and blend well. Avoid wet hair because it can dilute the dye and cause patchiness.
Washing Guidelines
Wash your hair one day before dyeing it at home. Clean hair removes dirt and oil but retains natural scalp oils. These oils protect your scalp during the dye process. Avoid washing your hair right before dyeing. Freshly washed hair can be too slippery for the color to stick. Use a gentle shampoo without heavy conditioners to keep hair ready for dye.
Protecting Skin And Clothes
Apply a thin layer of petroleum jelly around your hairline and ears. This stops the dye from staining your skin. Wear old clothes or a protective cape to avoid ruining your outfits. Use gloves during application to protect your hands. Keep paper towels or cotton pads nearby for quick cleanups. Cover surfaces like counters with old towels to catch any spills.
Setting Up Your Space
Preparing your space before dyeing hair at home is essential. A well-organized area helps avoid mess and makes the process smoother. Setting up properly also protects your belongings and skin from stains. Take time to arrange everything before starting the dye.
Gathering Tools
Collect all necessary tools first. You will need hair dye, gloves, an old towel, a mixing bowl, and an applicator brush. A wide-tooth comb helps with even color distribution. Keep a timer or clock nearby to track the processing time. Having everything ready prevents interruptions during dyeing.
Protecting Surfaces
Cover counters and floors with old newspapers or plastic sheets. Use a cape or old shirt to protect your clothes. Apply petroleum jelly around your hairline and ears to stop dye stains on the skin. Keep paper towels and wipes handy to clean any spills quickly.
Lighting And Mirror Setup
Good lighting is key for even application. Natural light works best, but bright white bulbs also help. Position a large mirror in front of you and a smaller one for viewing the back of your head. This setup lets you see all angles clearly while applying dye.
Application Techniques
Applying hair dye at home requires careful technique to ensure even color and a professional finish. Proper application helps the dye cover all strands thoroughly. It also prevents patchy or uneven results. Follow these steps to apply hair dye correctly and achieve vibrant color.
Sectioning Hair
Divide your hair into small, manageable sections. Use clips to hold each section in place. Sectioning makes it easier to apply dye evenly. It also saves time and reduces mess. Start by parting your hair down the middle. Then create horizontal layers from front to back.
Starting From The Bottom
Begin applying dye at the bottom sections of your hair. This area takes longer to process. Working from the bottom up ensures even color development. Apply dye to the lower layers first, then move to the top layers. This method avoids overlapping and uneven patches.
Applying Dye Evenly
Use a brush or applicator to spread dye smoothly. Apply a thin layer to each section. Avoid clumps or thick spots. Make sure every strand is coated with dye. Use your fingers or a comb to distribute dye evenly. This helps prevent streaks and blotchy color.
Handling Roots And Ends
Apply dye to the roots last as they process faster. The scalp’s heat speeds up color development. Carefully cover the roots without overlapping onto already dyed hair. For ends, apply dye gently and evenly. Ends are often drier and absorb color differently. Treat roots and ends with care for balanced results.
Processing Time
The processing time is a key step in dyeing hair at home. It determines how well the color develops and how vibrant the result will be. Paying close attention to this stage helps avoid uneven color or damage. Proper timing ensures the dye works as intended and your hair looks great.
Following Instructions
Always read the instructions on the hair dye box carefully. Each product has its own recommended processing time. Stick to the suggested time to get the best results. Leaving dye on for too long can harm your hair. Too short a time may cause weak color.
Using Timers
Use a timer to track the processing time exactly. A kitchen timer or phone alarm works well. Setting a timer prevents guessing or forgetting the time. It keeps the process safe and effective. Check the timer often to stay on schedule.
Checking Color Development
Look at your hair during the processing time to see how the color changes. Some dyes show gradual color shift. If the color looks right before the time is up, wait until the full time passes. This ensures even coverage and a lasting finish.

Credit: www.youtube.com
Rinsing And Aftercare
Rinsing and aftercare are vital steps after dyeing hair at home. Proper rinsing removes excess dye and prevents unwanted staining. Aftercare protects hair from damage and keeps the color vibrant longer. Follow simple steps for best results.
Washing Out Dye
Rinse hair with lukewarm water until water runs clear. Avoid hot water as it strips color and dries hair. Use gentle hands to prevent tangling. Do not shampoo immediately unless the dye instructions say so. Pat hair gently with a towel to remove excess water.
Using Conditioner
Apply a color-safe conditioner to nourish hair and lock in color. Leave the conditioner on for the recommended time. Conditioner seals the hair cuticle, adding shine and softness. Use a deep conditioner once a week to keep hair healthy and hydrated.
Drying And Styling Tips
Let hair air dry to reduce heat damage. If using a blow dryer, choose a low heat setting. Avoid brushing wet hair to prevent breakage. Use a wide-tooth comb to detangle gently. Style hair with heat protectant spray to preserve color and health.
Troubleshooting
Troubleshooting is key when dyeing hair at home. Mistakes can happen. Knowing how to fix them saves time and stress. This section guides you through common problems and easy solutions. Follow these tips for better results.
Fixing Uneven Color
Uneven color is a common issue. It happens when dye is not applied evenly. To fix this, section hair carefully next time. Use a comb to spread dye evenly. For current uneven spots, try a color refresher. Apply it only on lighter or missed areas. Avoid overlapping on already colored hair to prevent damage.
Managing Stains
Hair dye stains skin and surfaces easily. Remove stains quickly to avoid permanent marks. Use a damp cloth with mild soap on skin stains. For stubborn stains, try a small amount of rubbing alcohol or makeup remover. Protect your clothes and workspace by covering them before dyeing. Apply petroleum jelly along hairline to prevent skin stains.
When To Seek Professional Help
Some problems need a professional touch. Severe damage or allergic reactions require expert care. If your hair feels very dry or breaks easily after dyeing, see a stylist. Strange colors or unexpected results also need professional correction. Professionals have tools and knowledge to fix complex issues safely.
Maintaining Color
Maintaining your hair color after dyeing at home is essential to keep it looking fresh and vibrant. Color-treated hair needs special care to prevent dullness and fading. Simple steps help extend the life of your new shade and protect hair health.
Choosing Color-safe Products
Select shampoos and conditioners made for color-treated hair. These products gently cleanse without stripping color. Avoid harsh sulfates and alcohols that dry hair and cause fading. Use moisturizing formulas to keep hair soft and shiny. Leave-in conditioners and serums with UV protection also help preserve color.
Avoiding Fading
Limit hair washing to two or three times per week. Hot water opens hair cuticles, letting color escape, so wash with cool or lukewarm water. Avoid frequent use of heat styling tools, as heat fades color faster. Wear hats or scarves when outside to protect hair from sun damage. Use deep conditioning treatments weekly to maintain hair moisture and color.
Scheduling Touch-ups
Plan touch-ups every four to six weeks for vibrant roots and color. Keep track of your hair growth and fading signs. Use root touch-up kits or visit a professional if needed. Regular maintenance prevents uneven color and keeps your hair looking fresh longer. Consistency is key for a lasting, beautiful color.
Frequently Asked Questions
What Is The Best Way To Dye My Hair At Home?
Prepare dry, unwashed hair for permanent dye for better color hold. Protect skin with Vaseline and wear gloves. Follow kit instructions carefully. Section hair for even application. Rinse with cool water and use color-safe shampoo to maintain vibrancy.
Do And Don’ts Before Coloring Hair At Home?
Wear gloves and protect your skin with Vaseline around hairline and ears. Apply dye on dry, unwashed hair for best results. Avoid staining surfaces by wiping spills immediately. Use an old pillowcase after dyeing to prevent color transfer. Follow the kit instructions carefully.
Do You Dye Your Hair Wet Or Dry?
Dye hair dry for permanent color and bleaching to avoid uneven results. Use damp hair for semi-permanent dyes and toners for better absorption. Always follow the specific instructions on your hair dye kit for best results.
When Dying Hair, Do You Start At Top Or Bottom?
Start dyeing hair at the bottom to avoid overlapping color on already dyed roots. Finish with the top sections.
Conclusion
Dyeing your hair at home can be simple and satisfying. Follow the steps carefully and take your time. Use the right tools and protect your skin and clothes. Always read the instructions on your dye box before starting. Remember, patience helps achieve better results.
Enjoy your new look and feel confident. Keep your hair healthy by using good aftercare products. Home hair dyeing saves time and money when done right. Try small tests first to avoid surprises. Happy coloring!
As an Amazon Associate, I earn from qualifying purchases.
Lovingshe is a participant in the Amazon Services LLC Associates Program which is an affiliate advertising program designed to provide a means for sites to earn advertising fees by advertising and linking to Amazon.com. Amazon may use cookies to track referrals from our site. Visit Amazon’s privacy policy for details